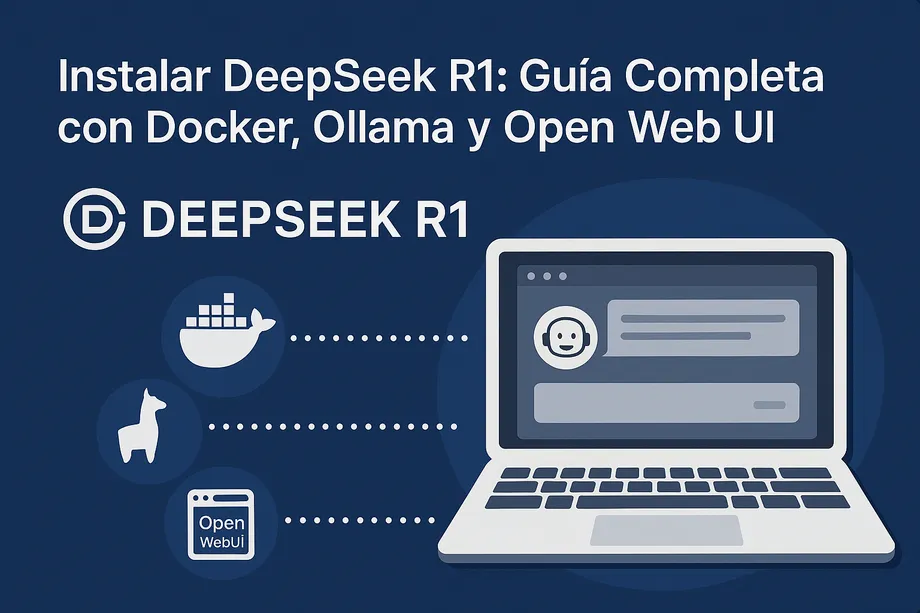
How to Run DeepSeek R1 Locally
Do you want to run a powerful language model on your own computer without relying on the cloud? In this post, we will show you step by step how to install and configure DeepSeek R1, a free and advanced LLM. We will use Docker, Ollama, and Open Web UI to make it easy and accessible.
It is important to mention that there are some limitations when running language models locally. Running a model locally is a good option for experimentation and direct control, but it must be done with care due to processing limitations, hardware requirements, and possible update issues.
Advantages and Disadvantages
Running language models locally has its advantages and disadvantages. Here is a summary so you can make an informed decision.
| Advantages 🟢 | Disadvantages |
|---|---|
| Total privacy: You don’t need to send data to the cloud. | High hardware requirements: You may require a powerful GPU and a lot of RAM. |
| No recurring costs: You don’t depend on subscriptions or API payments. | Higher energy consumption: It can cause your computer to consume more resources. |
| Offline availability: Works without depending on the Internet. | Complex configuration: Requires manual installation and adjustments. |
| Total control: You can customize and optimize the model according to your needs. | Manual updates: It does not update automatically as it does in the cloud. |
| Lower latency: Faster responses without depending on the Internet connection. | Storage and space: Models can take up several gigabytes (GB) of space on your disk |
Prerequisites
Before installing DeepSeek R1, make sure you have the following:
- Adequate hardware:
- At least 8 GB of RAM for small models (up to 7B parameters).
- 16-32 GB of RAM for larger models (13B, 32B, 33B parameters).
- Preferably an NVIDIA GPU with at least 8 GB of VRAM (12-24 GB recommended for larger models).
- Docker : Necessary for virtualization and container management.
- Docker Desktop ️: Required to run Docker easily on Windows and macOS.
- Docker Compose ⚙️: Facilitates the configuration and execution of multiple containers.
- Git: Necessary to clone the repository (if you don’t have it, download it).
DeepSeek R1 Installation
This guide details the installation of DeepSeek R1 on your local system using Docker, Ollama, and Open Web UI.
- Docker: It is a platform that allows you to package applications and their dependencies into containers, ensuring that they work consistently in any environment.
- Ollama: It is a tool that allows you to download, run, and manage large language models (LLMs) locally.
- Open Web UI: It is a friendly web interface that facilitates interaction with LLMs, similar to ChatGPT.
Docker simplifies installation, while Ollama serves the language models and Open Web UI provides a friendly chat interface.
1. Installation Options:
There are two starter kits that facilitate the installation of the necessary tools. Both kits include valuable components, but option B offers a better configuration that we will explain later.

2. Installation (Option B - Recommended):
As mentioned above, we recommend Option B for its more complete tool set, including Open Web UI, which we will use in this guide.
- Nvidia GPU
- Mac
- Others
For Nvidia GPU users
git clone [https://github.com/coleam00/ai-agents-masterclass.git](https://github.com/coleam00/ai-agents-masterclass.git)
cd ai-agents-masterclass/local-ai-packaged
# Modify the .env file (see step 3)
docker compose --profile gpu-nvidia up
For Mac / Apple Silicon users
If you are using a Mac with an M1 processor or newer, unfortunately you cannot expose your GPU to the Docker instance. In this case, there are two options:
- Run the starter kit entirely on the CPU, as in the “For everyone else” section below.
- Run Ollama on your Mac for faster inference, and connect to it from the n8n instance.
If you want to run Ollama on your Mac, see the Ollama home page for installation instructions, and run the starter kit as follows:
git clone [https://github.com/coleam00/ai-agents-masterclass.git](https://github.com/coleam00/ai-agents-masterclass.git)
cd ai-agents-masterclass/local-ai-packaged
# Modify the .env file (see step 3)
docker compose up
After following the quick start setup below, change the Ollama credentials using http://host.docker.internal:11434/ as the host.
For everyone else
git clone [https://github.com/coleam00/ai-agents-masterclass.git](https://github.com/coleam00/ai-agents-masterclass.git)
cd ai-agents-masterclass/local-ai-packaged
# Modify the .env file (see step 3)
docker compose --profile cpu upFor Nvidia GPU users
git clone [https://github.com/coleam00/ai-agents-masterclass.git](https://github.com/coleam00/ai-agents-masterclass.git)
cd ai-agents-masterclass/local-ai-packaged
# Modify the .env file (see step 3)
docker compose --profile gpu-nvidia upFor Mac / Apple Silicon users
If you are using a Mac with an M1 processor or newer, unfortunately you cannot expose your GPU to the Docker instance. In this case, there are two options:
- Run the starter kit entirely on the CPU, as in the “For everyone else” section below.
- Run Ollama on your Mac for faster inference, and connect to it from the n8n instance.
If you want to run Ollama on your Mac, see the Ollama home page for installation instructions, and run the starter kit as follows:
git clone [https://github.com/coleam00/ai-agents-masterclass.git](https://github.com/coleam00/ai-agents-masterclass.git)
cd ai-agents-masterclass/local-ai-packaged
# Modify the .env file (see step 3)
docker compose upAfter following the quick start setup below, change the Ollama credentials using http://host.docker.internal:11434/ as the host.
For everyone else
git clone [https://github.com/coleam00/ai-agents-masterclass.git](https://github.com/coleam00/ai-agents-masterclass.git)
cd ai-agents-masterclass/local-ai-packaged
# Modify the .env file (see step 3)
docker compose --profile cpu up
3. Configuration of the .env file:
After cloning the repository, in the local-ai-packaged folder, you will find a file called .env.example.
- Copy this file and rename it to
.env(delete.example). - Open the
.envfile with a text editor (Visual Studio Code is recommended). - This file contains passwords for the tools, although it is not necessary to modify them for this tutorial, it is important to know the default credentials for future use.
4. Verification in Docker Desktop
- Open Docker Desktop.
- Make sure all containers and images have been installed correctly.
5. Running the Containers
- In Docker Desktop, check if all containers are running.
- If any container is not running, start it manually.
- Make sure the
ollamaandopen-webuicontainers are running.
6. Installation of the DeepSeek R1 Model
-
You can download this and other models from Ollama.
-
To install DeepSeek R1, open the terminal inside the Ollama container in Docker Desktop:
-
Docker Desktop > Containers / Containers > ollama > Run / Exec
-
Run the following command:
ollama run deepseek-r17. Useful Ollama Commands
Once the model is installed, you can use the following commands in the Ollama terminal to manage it:
-
ollama psShow the running models. -
ollama listList the installed models. -
ollama show deepseek-r1Show information detailed about the DeepSeek R1 model (name, parameters, etc.). (Replace “deepseek-r1” with the name of the model you want to consult)
8. Additional Considerations
- Compressed language models may have limitations compared to full models.
- For best results, especially with compressed models, consider using: English prompts.